

Install Your 5i Lock
5i Deadbolt Installation
Note: This installation manual assumes the door is already prepped with a 2 1/8″ boring hole and latch hole.
1.Latch Installation
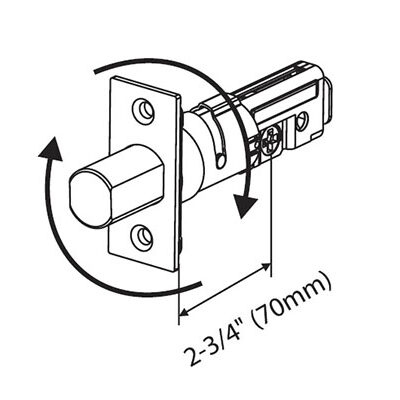
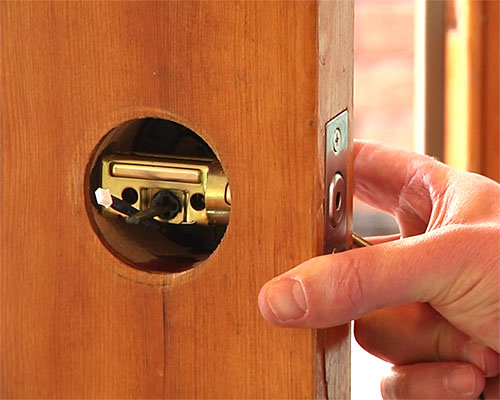
A. Deadbolt Backset
The BACKSET is the distance between the center of the boring hole to the edge of the door. Set the deadbolt backset to match your door by rotating the latch case as shown below to 2-3/4″ or reverse direction for 2-3/8″.
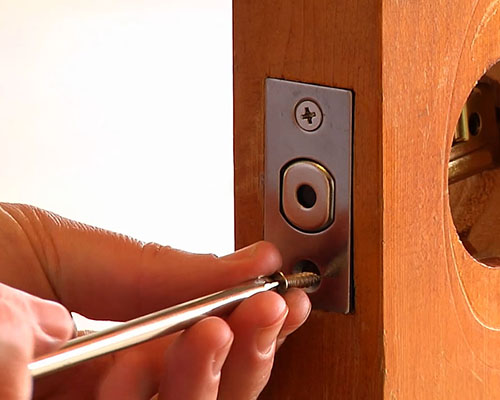
B. Install Latch
Insert the latch and tighten with 2 screws provided.
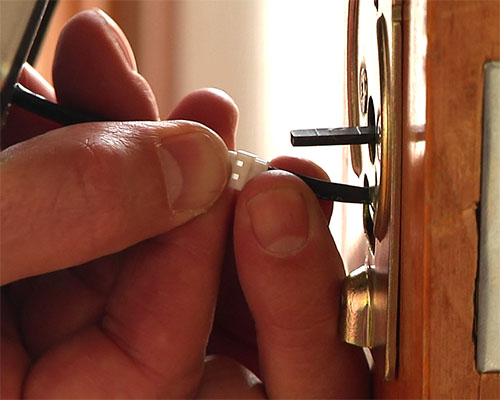
2.Place Keypad Assembly
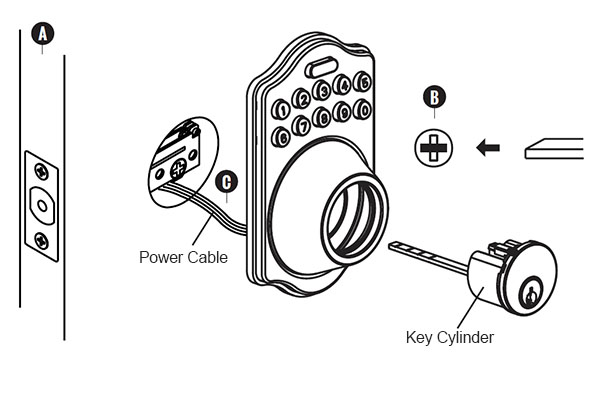
Before placing the front keypad assembly onto the outside of the door, check the following:
A. Ensure the latch bolt is retracted.
B. Position the tailpiece in the horizontal position before inserting through the hub of the latch.
C. Pass the power cable under the latch
After ensuring the steps above, place the front keypad assembly on the front of the door.
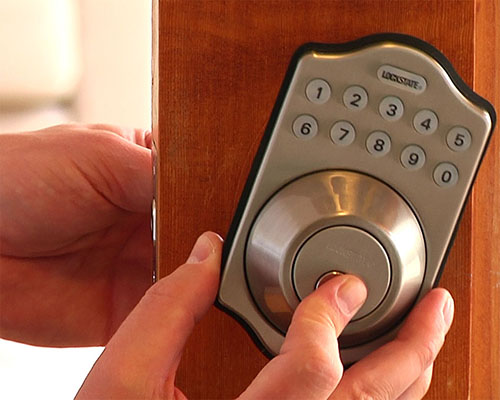
Make sure the power cable passes in the space underneath the latch and that the tailpiece is in the horizontal position.
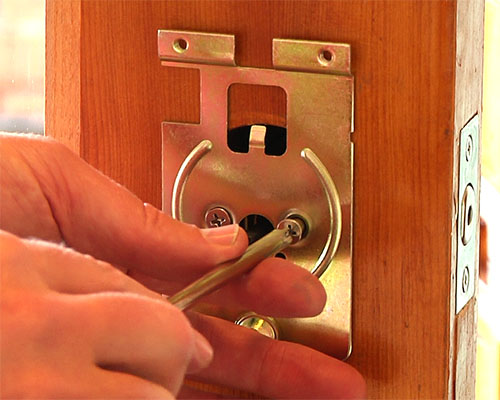
3.Install Inside Mounting Plate
Hold the inside mounting plate up to the inside of the door and pass the power cable through the wire hole.

Secure the mounting plate with the two large screws.
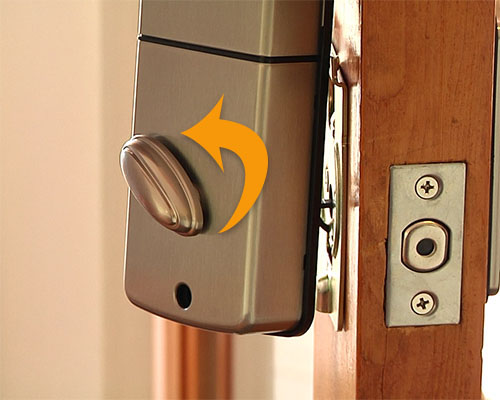
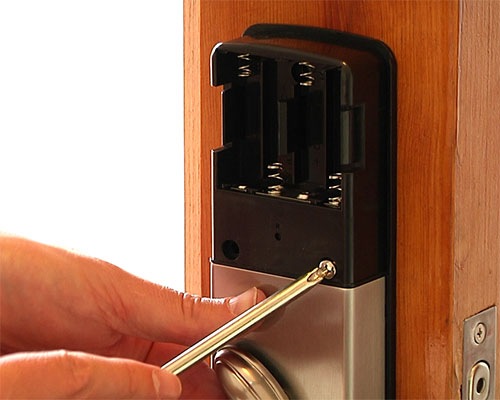
4. Install Interior Lock
A. Remove the battery cover off the interior of the lock.
B. Connect the front to back power cable.
C. Adjust the turn piece so that it is facing away from the edge of the door, so that it matches the unlocked position of the latch.
D. Secure the back lock to the mounting plate with 3 screws.

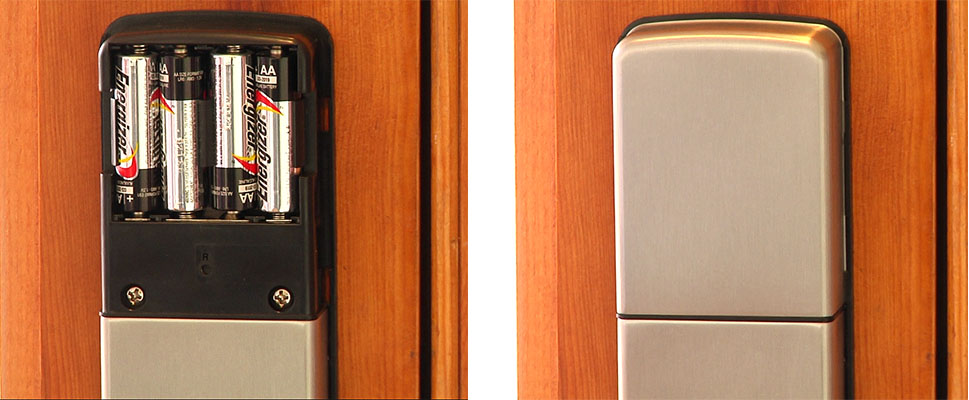
5.Install Batteries
Insert 4 AA Alkaline or Lithium batteries into the battery compartment, then replace battery cover and slide the battery cover back onto the lock.
IMPORTANT: Do not use Rechargeable batteries. Rechargeable batteries can lead to inconsistent behavior on the lock.
6.Set Handing (Deadbolt Model Only)
IMPORTANT: Before your lock with function, you must set the handing on the door. Because the lock can work on a right or left handed door, it needs to be told which direction to turn to lock and which to unlock.
A. Place the deadbolt in the unlocked position.
B. Enter the Programming Code, LockState Button, 140, LockState Button. The default programming code is 123456.
Example: 123456, LockState, 140, LockState
You should see 2 green flashes and hear 2 beeps.
7.Connect to WiFi
You can now connect your lock to your WiFi router.